There is nothing better than installing a new floor to bring life and beauty to the room and give it a new look. Nevertheless, purchasing high-quality materials and hiring professionals may be expensive. It is where installation of flooring by yourself comes into equation (DIY method). Although it may seem a daunting task at first glance, it is easier than you think. It costs about as half as a professional job and you can have fun as the process goes on. To make life easier for you, we collected everything you should know about installing a different kind of floorboards.
Before you start
If you are up to challenge and intended to install flooring by yourself there are some points to take into account before you begin the installation of a floorboard:
1- Installing flooring by the DIY method is not a trivial task. Even the installation process of simple flooring types requires some precise calculations and cutting. If you have a little experiment in home renovation DIY projects, it is better to check your skill and experiment twice before you start. If you still take up the challenge, you should read and learn everything about floorboard installation going ahead. For that, you can surf the internet and read articles (Just like this one) or watch how-to videos.
2-Read the installation instructions first. Many people ignore the manufacturer’s instruction manual and make costly mistakes. If the product doesn’t accompany an installation manual you can usually get it from the manufacturer’s website. There are plenty of good installation videos on YouTube you can check to get familiar with the process.
3- Choose the right flooring type and know your subfloor. In most cases, the subfloor is either wood or concrete. The process of installation differs in each case. Prepare the subfloor carefully. Most types of flooring should only be installed on an even subfloor. The quality of subfloor directly affects the overall quality of the floorboard installation.
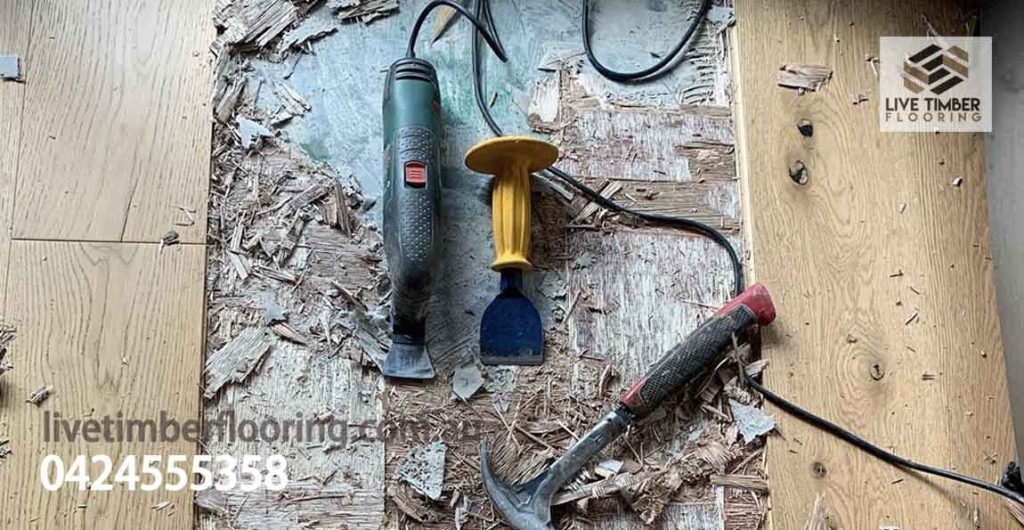
4- Buy the right installation tools. Most installation instructions provide a tool list. You can save a lot of money by renting expensive tools from a local rent-shop. If your product doesn’t come with a tool list don’t worry, below we provided a short list of tools needed for each type of flooring.
Choose the Right Tools
Choosing the right tools makes a world of difference. Here is a quick list of essential tools for each flooring type:
Hardwood
Pencil and chalk line, floor fasteners, drill, hammer, nail, hardwood nailer, miter and jam saw,6-foot level, tape measure, cloth rags, painter tape, floor finish, sanding machine if needed
Laminate, vinyl and click hardwood:
Laminate, miter and jig saw, ¼ and ½ inch spacers, hammer, tape measure, pencil, glue as needed, tap
Vinyl Tiles
Tape measure, chalk line, utility knife, handsaw
Ceramic Tile
Tape measure, pencil, drill, straight edge, undercut saw, utility knife, grout, mortar
In addition, you need a broom and a vacuum cleaner to get rid of dust and derbies while installing any type of floor. Don’t forget to put on a high-quality dust mask or respirator, wear protective glasses and gloves before you begin to install the floorboards.